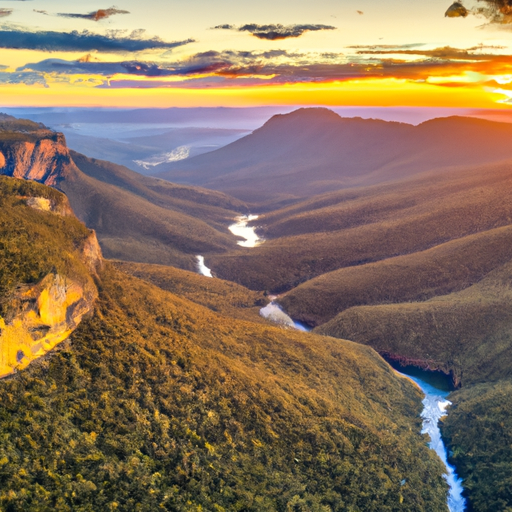
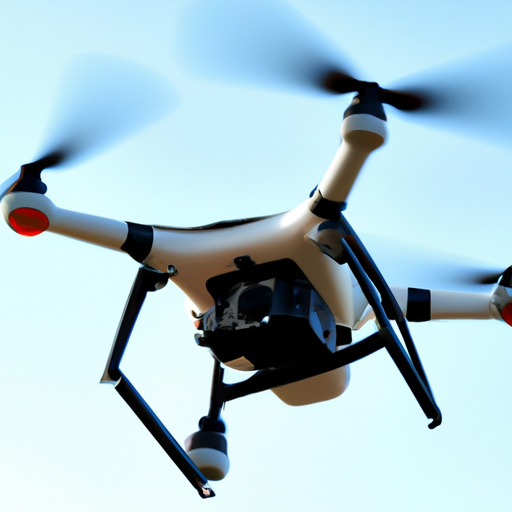
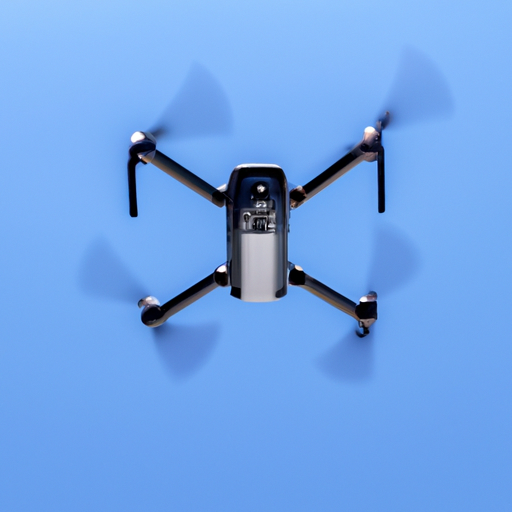
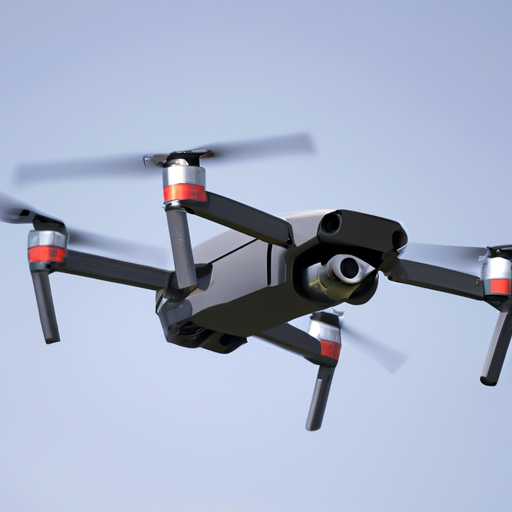
Ready to take your photography skills to a whole new level? Look no further! “How to Capture Epic Drone Photos and Footage of Landscapes” is grandly embellished with tips, tricks, and guides to help you maneuver a drone like a pro. Equipped with step-by-step instructions, you’ll quickly learn how to set up your drone, plot perfect flight paths, and even edit your breathtaking aerial footage. Before you know it, you’ll be revealing the hidden beauty of landscapes from angles you’ve never seen before.
Understanding the Basics of Drone Photography
Aerial photography has truly taken off with the advent of drones. Before you start capturing epic images, it’s important to understand the fundamentals of drone photography.
Know your drone model
Each drone is unique. Knowing your drone model inside and out will help you take fully advantage of its capabilities and ensure the best possible photos or footage. Familiarize yourself with its specifications and limitations, and give yourself lots of practice flying before you start taking photographs.
Familiarizing yourself with the drone’s camera
Much the same as knowing your drone, it’s important to understand the intricacies of your drone’s camera including its technical details like sensor size, lens field of view, and ISO range. This knowledge will give you the power to predict its performance in different conditions and it will significantly improve the quality of your final images.
Study the physics of drone flight
Understanding the physics of how your drone flies can be helpful when dealing with certain photography elements. For instance, understanding how your drone behaves in the wind can allow you to anticipate its movements and better align your shots.
Learn about the drone’s settings and features
The more you know about your drone’s settings, the better equipped you are to capture stunning aerial shots. Take the time to study the manual and online resources specific to your drone model.
Scouting for The Perfect Location
As you are now familiar with your gear, it’s time to scout for the perfect location.
Do virtual scouting with online maps
Before setting out, utilize online maps to do a preliminary check for potentially interesting shooting locations.
Consider the physical aspects of the location
Always inspect the physical aspects of the location you plan to shoot. Look out for potential hazards like powerlines, trees, or tall buildings that could interfere with your drone flight.
Pay attention to the direction of light
Concepts like early morning light, harsh midday light or late afternoon glow work just as much in drone photography as they do in traditional photography. The way light falls on your subject dramatically affects the final result.
Weather conditions
Weather is undoubtedly a key factor in drone photography. Certain weather conditions can present unique opportunities for incredible aerial shots, but ensure safety first; some drones cannot handle rain or strong winds.
Check for legal and safety restrictions of the area
It’s crucial to be aware of the legal and safety restrictions in the area you intend to fly your drone. Check with local regulations and always respect privacy rights.
Choosing the Right Time to Shoot
Once a location has been found and you are legally clear to fly, it’s time to consider when to shoot for the best results.
Advantages of taking photos during the golden hour
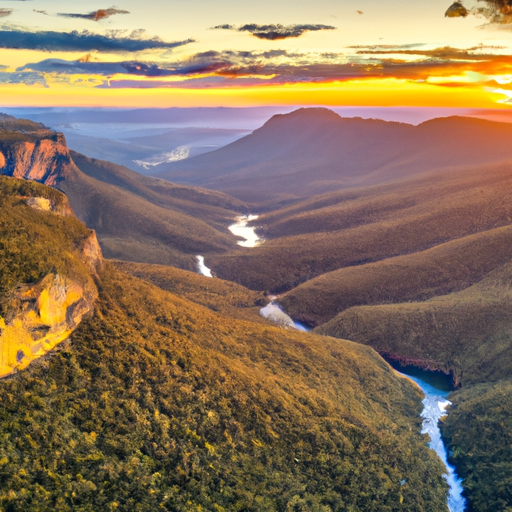
The “golden hour,” just after sunrise or just before sunset, is often considered the most preferable time for drone photography due to the quality of the light during these periods.
Understanding the blue hour
The “blue hour,” the period of twilight before sunrise or after sunset when the sun is just below the horizon, can provide an interesting color palate for your photographs.
Shooting in harsh daylight
Although it’s challenging, shooting in harsh daylight isn’t impossible with the correct settings. Polarizing or ND filters can help cut harsh light and manage reflection.
Considerations for night shooting
Night shooting offers unique possibilities for drone photography, but it also presents unique challenges. First, you want to ensure your drone has lights so you can locate and track it. Also, remember that settings allowing more light into the camera can cause more noise degradation in your shot.
Mastering Drone Photography Techniques
Now it’s time to delve into some drone photography techniques.
Understanding the Rule of Thirds
The rule of thirds is a fundamental photography guideline that suggests dividing the shot into nine equal parts. This can enhance your shot’s balance and composition.
Utilizing leading lines
Leading lines are a powerful compositional tool in drone photography. These lines guide the viewer’s eye through the image, creating depth and structure.
Exploring different perspectives
The unique advantage of a drone is the ability to get new perspectives. Try shooting straight down for a bird’s-eye view, or tilt the camera to capture an expansive landscape.
The value of symmetry in drone photography
In the right circumstances, symmetric compositions can add a strong, eye-catching element to your drone photos. Reflections, shadows, and man-made structures can provide great opportunities to capture symmetry.
The role of patterns and textures in landscapes
Patterns and textures from distinctive landscapes, such as farmlands or coastal areas, can create visually stunning drone photos.
How to capture movement
Capturing movement can convey a sense of action and dynamism in your drone photography. Experiment with slower shutter speeds to get that perfect motion blur.
Using Filters for Drone Photography
Filters can play a vital role in improving the quality of your shots in challenging lighting conditions.
Understanding the use of Polarizing filters
A polarizing filter can help to reduce glare, manage reflections and increase color saturation in your drone photos.
The importance of ND filters
ND filters (neutral density) act as sunglasses for your drone camera, allowing you to control exposure in bright light and achieve visual effects such as motion blur.
Improving your images with Graduated ND filters
Graduated ND filters are clear at the bottom and gradually grow darker towards the top. These are extremely useful for situations where the sky is significantly brighter than the landscape.
How to choose the right filter for your shoot
Choosing the right filter for your shoot largely depends on the lighting conditions. Spend some time understanding how different filters affect your images under different lighting scenarios.
Optimizing your Drone Camera Settings
Understanding and correctly setting up your drone camera settings is imperative for taking high-quality photos.
Setting the right ISO
ISO measures the sensitivity of your camera’s sensor to light. Lower ISO values result in crispier images with less noise, while higher ISO values can enhance brightness in low-light situations but may introduce noise.
Adjusting the shutter speed
Shutter speed determines how long the camera sensor is exposed to light. Fast shutter speeds can freeze action, while slower shutter speeds can create motion blur.
Choosing your aperture
Aperture controls the opening in the lens through which light enters, thus affecting depth of field, exposure and sharpness of the photo.
Customizing white balance
Customizing the white balance allows you to adjust the color temperature of your photos, which can result in more accurate, vibrant colors.
Employing raw format
In contrast to JPEGs, raw image files retain much more detail and allow for more flexibility during post-processing.
Practical Tips for Sharper Images
Achieving sharp images can make or break your drone photography.
Ways to minimize camera shake
Camera shake can result in blurry images. Make sure your drone is stable when you take your photos, and try to push the shot button gently, or use the drone app’s shutter timer to ensure a hands-off capture.
Understanding focus peaking
Focus peaking is a tool available on many drones that visually highlights parts of the shot in focus. Use this feature to ensure sharpness in the right areas of the shot.
Proper use of tripod mode
Tripod mode significantly reduces the drone’s speed and agility, allowing for smoother and more precise flying, which can be great for intricate shots or video capture.
Tips for achieving clean composition
As for achieving a clean composition, avoid unnecessary clutter in the frame, and try to frame your subject using the rule of thirds, leading lines, or find symmetry or patterns that guide a viewer’s eye through the shot.
Post-Processing your Drone Photos
Post-processing is an integral stage of drone photography, where you have the chance to improve and fine-tune your images.
Importance of post-processing
Regardless of how accomplished your initial shot is, post-processing can add that extra polish and refinement that makes a standout photograph.
Basic retouching techniques
Retouching includes tweaking elements like exposure, contrast, highlights, shadows, color saturation or sharpness. You can also remove unwanted elements, like lens flares or sensor spots.
Software tools for post-processing
Popular software tools for post-processing include Adobe Lightroom and Photoshop, Capture One, and DxO PhotoLab.
How to maximize dynamic range
Through techniques like HDR (High Dynamic Range) or DRI (Dynamic Range Increase), you can pull out more detail in the highlights and shadows, thus maximizing dynamic range.
Correcting lens distortion
Drone cameras, especially those with a wide field of view, can produce noticeable lens distortion. Correct this in post-processing for more accurate representations of your subjects.
How to Capture Epic Landscapes Videos
Combine your learned photography skills with the motion capabilities of your drone to shoot epic landscape videos.
Understanding video resolution and frame rates
Higher video resolutions, like 4K, deliver the sharpest footage. Frame rate (measured in frames per second) impacts how smooth your video looks. Play around with different resolutions and frame rates to achieve your desired result.
How to achieve smooth drone movement
Smooth drone movement is crucial for producing professional-looking videos. Make use of intelligent flight modes like point of interest, waypoint navigation or active track to achieve smooth, controlled movement.
Using manual mode for better video quality
Moving away from auto settings and getting comfortable with manual mode allows you more control in adjusting your drone camera’s settings to adequately suit the lighting conditions.
Incorporating the art of storytelling in your videos
A static shot of a pretty landscape from above is great. But, incorporating motion and depth can turn it into a visual story. Start adding layers to your footage – elements of motion, structure or composition that draw viewers in.
Maintaining Your Drone Equipment
Keeping your equipment in the best condition ensures it is always ready for action.
Proper drone storage
Store your drone in a cool, dry place away from direct sunlight. A carry case can protect it from dust or accidental damage.
Routine drone checks and calibration
Regularly check your drone for worn-out parts or damages. Calibration should be done periodically to ensure the drone’s sensors are working accurately.
Battery care
High-quality drone operation depends largely on reliable battery performance. Prevent excessive heat or cold exposure. Always handle the battery with care, ensuring contacts have zero exposure to liquid or dust.
Dealing with minor repairs and maintenance
Understanding basic drone maintenance and repairs can save you time and money. Always refer to your user manual or manufacturer’s guidelines when performing any repair or maintenance tasks.
In conclusion, drone photography can be a unique and exciting avenue to explore. Understanding the basics, practicing your skills, and nurturing your creative instincts can lead to capturing truly remarkable drone photos and footage.
